I received detailed training and was then let loose in the print shop to try to take over the world. Ahem, try to set type and create labels on my own! I must say, it was a complete and total success and about 200 labels and 200 business cards later, I am rather thrilled with my factory like output.
 Some key tools used in the printing process. The ball is a twine holder. The twine is used to tie around the perimeter of the type face so they don't fall apart as you manuever them and set them into a frame for printing. The wooden blocks are used in the one of the last pre-printing preparation steps to mount the type face in a frame for printing.
 This press is pedal or wheel operated and is used for large quantity print jobs. I didn't try my hand at this one.
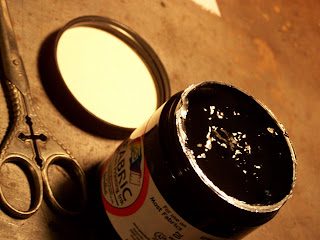 I love the scissors and the ink was so shiny.
 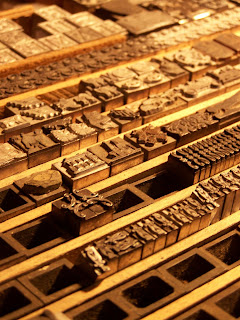 These are samples of some of the fun designs you can find on type face. It's not limited to just letters. In fact, even photographs can be converted to 'type' and used in a printing press!
 After you come up with a concept the first step is to set up your block. Each letter is on a seperate type piece and each space must be tightly filled with spacers. I carved the raspberry out of a linoleum block.
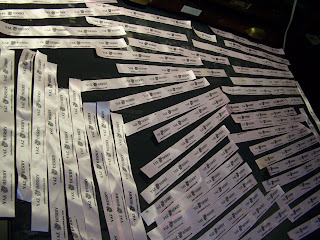 My finished supply of YazBerry labels.
  This is the first draft of the business card block. I was quite pleased with myself and figured it was good to go. We did a few proofs and realized there was room for improvement. I then made those improvements through a couple more drafts and ended up with a final product I am quite happy with.
 The final draft of the business card layout mounted in the printing frame. The metal pieces are tightened with the key you see to make sure nothing moves while printing. The layout of the block required several drafts to make sure the spacing, font size and balance were all pleasing. A four hour process for this amateur printer!
 Virginia E. Berry, Amateur Printer in action.
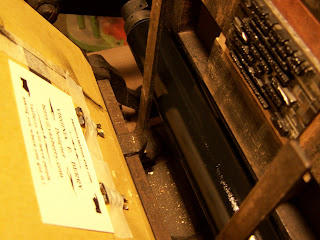 A freshly printed business card hot of the press! Well, technically it is still on the press, in the jig used to properly place the cards. The shiney black tube is a brayer used to automatically ink the block as you pull the lever to print a new card. Brilliant old fangled technology!!
 The finished product! My new business cards. Deliciously old-timey complete with pointing hands, flourishes and everything!
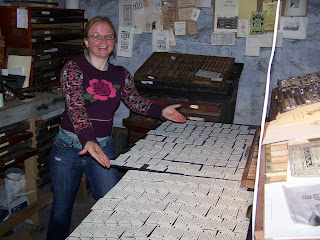 Virginia E. Berry, Printer, presents the YazBerry business card factory; 200 delicious cards layed out to dry. Success!
 YazBerry business card assumes position in Jim Bump's Print Shop's "Wall of Fame"!


New business cards look great! Very classy. I can also totally imagine you lecturing a class on how to use a non-electric printing press.
ReplyDeleteThanks! I had a blast making them. I would probably get a kick out of teaching people the process too, because it really is fun!
ReplyDelete